Course Curriculum & Learning Progression
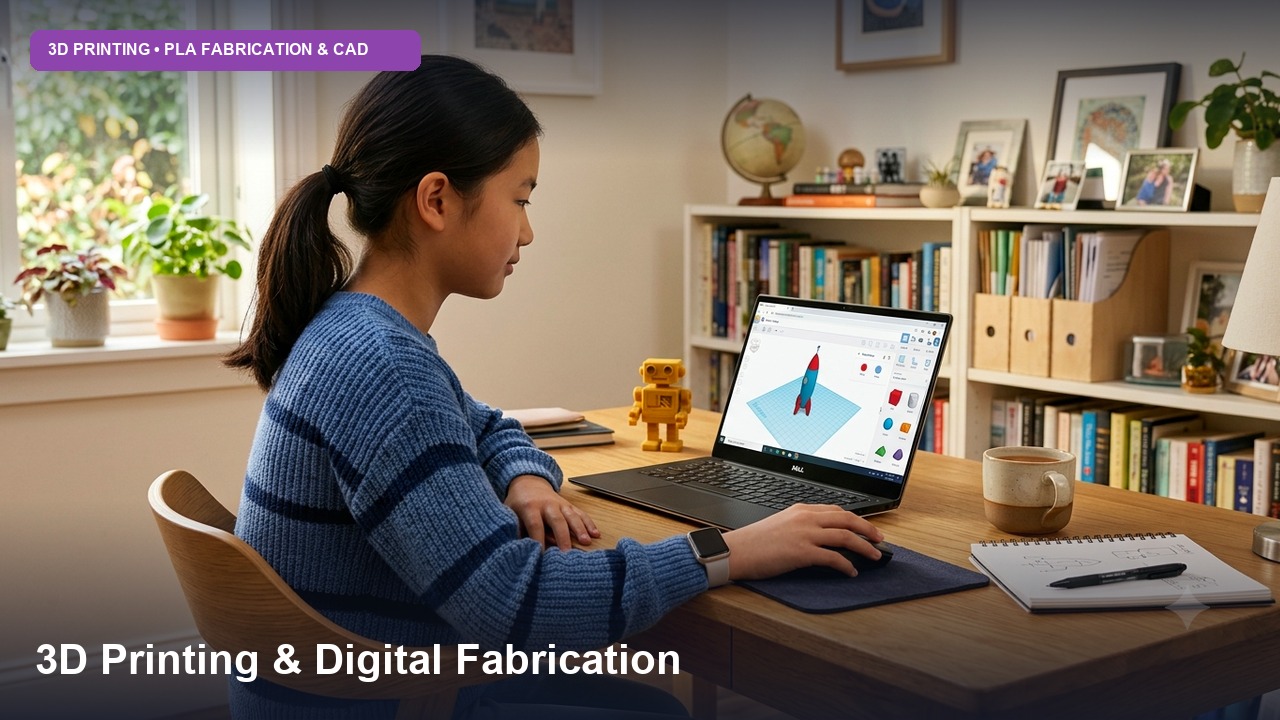
The 3D Design Studio curriculum at Axilearn is hands-on, project-based learning aligned with NEP 2020. Each level builds on the one before:
- Level 1: 3D space, shapes, holes and grouping
- Level 2: precise, measurable designs with the Sketch tool, SVG import, Codeblocks and Sim Lab
- Level 3: real product engineering: assemblies, moving parts, electronics enclosures, parametric coding, mechanism simulation and design for 3D printing
Structured Level Breakdown
Shape Shifters 🧊
Getting comfortable in 3D: navigating the workspace, placing and resizing shapes, combining solids and holes, aligning and grouping, and exporting your first printable models.
Topics Covered:
- Welcome to Tinkercad: the dashboard, creating a design, and joining a class
- Moving Around in 3D: the View Cube, orbit, pan, zoom and home view
- Basic Shapes: placing and resizing shapes with handles, and understanding X, Y and Z
- Positioning Shapes: moving, rotating and lifting shapes, and using the workplane
- Solids & Holes: making cutouts and grouping (the basis of how Tinkercad builds shapes)
- Arranging Shapes: Align, Duplicate and Mirror
- Text & Colour: 3D text, colours and multi-colour groups
- Bricks View: turning designs into brick-style models
- Save, Share & Export: STL export and an introduction to how 3D printers work
Precision Makers 📐
Designing to exact measurements: mm-accurate modelling, hollow shells, patterns, custom sketches, SVG logos, an introduction to Codeblocks, and testing designs with gravity and materials in Sim Lab.
Topics Covered:
- Precision Tools: the Ruler, Workplane tool, snap grid, and exact dimensions in millimetres
- Measuring the Real World: measuring objects with a ruler or vernier calipers and designing parts that fit
- Advanced Grouping: nested holes, cutaways and hollow shells with set wall thickness
- Patterns: repeat duplication for linear and radial patterns
- Sketch Tool: drawing custom 2D profiles and turning them into 3D shapes
- Importing Designs: SVG logos and artwork, plus editing imported STL and OBJ files
- Codeblocks Basics: creating shapes with code, moving, rotating and scaling them, and repeat loops
- Sim Lab Basics: gravity, static vs dynamic objects, and materials (wood, rubber, plastic and more)
- Design Iteration: testing, comparing versions and improving a design
Product Engineers ⚙️
Engineering real products: design thinking, multi-part assemblies with proper tolerances, snap-fits and print-in-place hinges, electronics enclosures, parametric Codeblocks, working mechanisms and robots in Sim Lab, and preparing files for 3D printing and laser cutting.
Topics Covered:
- Design Thinking: empathise, define, ideate, prototype and test
- Design for 3D Printing: overhangs, supports, wall thickness, print orientation, and tolerances and clearances
- Multi-Part Assemblies: lids, pegs, press-fits and snap-fits
- Moving Parts: print-in-place hinges and rotating joints
- Electronics Enclosures: cases for Arduino and ESP32 boards with port cutouts, ventilation and mounting posts (Cross-links with Arduino SimLab)
- Parametric Codeblocks: variables, maths, nested loops and customisable designs, exported as reusable shapes
- Sim Lab Mechanisms: axle, slider and pivot connectors, motors, and graphing velocity, acceleration and position
- Tinkercad Robotics: adding a Controller and programming motor speed and direction with blocks
- Laser Cutting: exporting SVG profiles for flat-pack designs
- Slicing & Printing: preparing STL files in slicers such as Cura, PrusaSlicer or Bambu Studio, including layer height, infill, and estimating print time and material
- Next Steps: moving designs to Autodesk Fusion (noting limitations for imported SVGs/complex groups) and building a design portfolio
Course Summary
Key Highlights:
- 100% free self-paced video tutorials
- A clear path from simple shapes to engineered products
- Precise, measurement-based design with the Sketch tool and SVG import
- Code-generated 3D geometry with Codeblocks
- Physics simulation, mechanisms and robotics in Sim Lab
- Design for 3D printing and laser cutting (STL, OBJ, SVG)
- 19 mini projects and 3 level-end projects, including a product design capstone
- Under 13 Enrollment: Join via teacher's Tinkercad Classroom with nickname & class code.
- Mouse Recommended: A computer mouse is highly recommended over trackpads for precise 3D orbiting.
- Send to Fusion: Taught as an advanced next step for simpler native groups (may limit complex imported SVGs).
